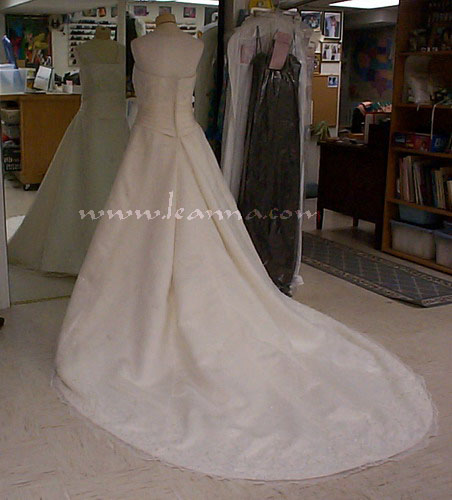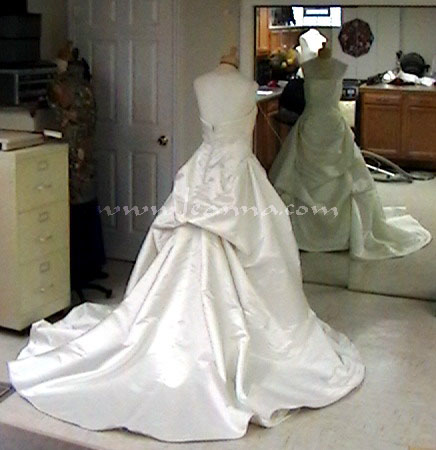
This gown is a good candidate for a French Bustle because it is very
full. The bride did not wish to cover the pleated effect at the back
waistline with a Ballroom Bustle. This French Bustle is very nice for
this gown. It ended up being 4 points. Step-by-Step instructions for
creating this bustle and others are on the Beautiful
Bustles DVD.
This is the same bustle as the one directly above only the train is
longer and not as wide. The design of the train is a big determinant
of how the bustle will drape.
Same 4 point French bustle but this time on a pick-up style train.
This gown is a little slim in the hip area than the above gowns and the train is shorter. It is a 2 point french bustle and is set lower because of the way the zipper was set in.
This gown has the same slim hips but the train is a little longer. the resulting 2 point French Bustle looks a little different mostly because the fabric is not as soft and flowing as the gown above.
Here's another 2 point French Bustle that looks a little different then the gown above though the fabrics are very similar. Any change in the shape of a train can result in a different looking bustle though the styles and fabrics are the same.
When a gown has a bubble type design, a French bustle results in the dress looking like it does not have a bustle. These gowns are good examples of French bustles that look very natural when rigged. All these were done with 2 french points.
This gown's riggings were very carefully positioned so that the roses were not hidden by the resulting flounce of fabric or drawn under the tucked section of train.
Here is a great example of a gown that needs a french bustle . The
design of the gown already has a french bustle in the back and the front
is tucked in many places forming flounces that look like bustles. In
discussing the options with the bride we decide to try to rig the bustle
so it bellows just under the original making a double bustle effect.
Here is the bustle rigged and it does look stunning. It very naturally
adds to the original design. The bride was very pleased with the overall
effect.
This is what the rigging looks like from the underside of the train.
To the left side of the picture you can pick out 2 loops of ribbon sewn
to the underside of the train and to the right you can see a length
of ribbon sewn to the top of the crinoline underskirt. For this bustle
there were 6 loops of ribbon forming the pick-up points and 2 sets of
tied ribbons.
To rig the bustle, one set of ties is looped through 3 of the pick-up
points and tied, then the other set of ties are looped through the remaining
3 loops and tied. All you have to do after securing the ties is settle
the train down and fluff the bustle. This makes a very secure and easy
bustle to rig.
Step-by-Step instructions for creating this bustle and others are on
the Beautiful Bustles DVD.
The designer of this gown decided to make the lace top layer much longer than the lining layer. The creates an interesting situation for bustling.
I rigged the lining layer to bustle in a one point Ballroom pick-up using a white hook and eye.
The lace top layer is bustled with a 6 point French Bustle. The effect shows off the lace very nicely and the bride loved it.